Flavor-of-the-Month. . . .Pumpkin Whoopie Pies


It's pumpkin season...better known as "the most wonderful time of the year." I ♥ pumpkin-y treats and can't wait to see what you all have come up with.

I decided to make something that's been on my "must make" list for a few years now...Pumpkin Whoopie Pies. Actually, Pumpkin Whoopie Pies with Vanilla Bean-Cinnamon Cream Cheese Filling. Oh, yeah.

Guys...my house smelled SO incredibly delicious when these babies were baking. I almost called my neighbor to come over and smell my house, but I thought I might come off as a little wacky. Sooooo, I called my sister and described the smell to her over the phone (she already knows I'm wacky).

My point is, even if you don't care for pumpkin, make these and just SMELL!

How do they taste? Ummm...delicious. Have you ever eaten a yummy Starbucks Pumpkin Cream Cheese Muffin? They are similar but 1,000 times better.

Here's the recipe:

Pumpkin Whoopie Pies
{adapted from Martha Stewart & Baked cookbook}
  • 3 c all-purpose flour
  • 1 teaspoon salt
  • 1 teaspoon baking powder
  • 1 teaspoon baking soda
  • 2 tablespoons ground cinnamon
  • 1 tablespoon ground ginger
  • 1 tablespoon ground cloves
  • 2 c packed dark-brown sugar
  • 1 c vegetable oil
  • 3 c pumpkin puree, chilled
  • 2 eggs
  • 1 teaspoon pure vanilla extract
Preheat oven to 350. Line two baking sheets with parchment paper.


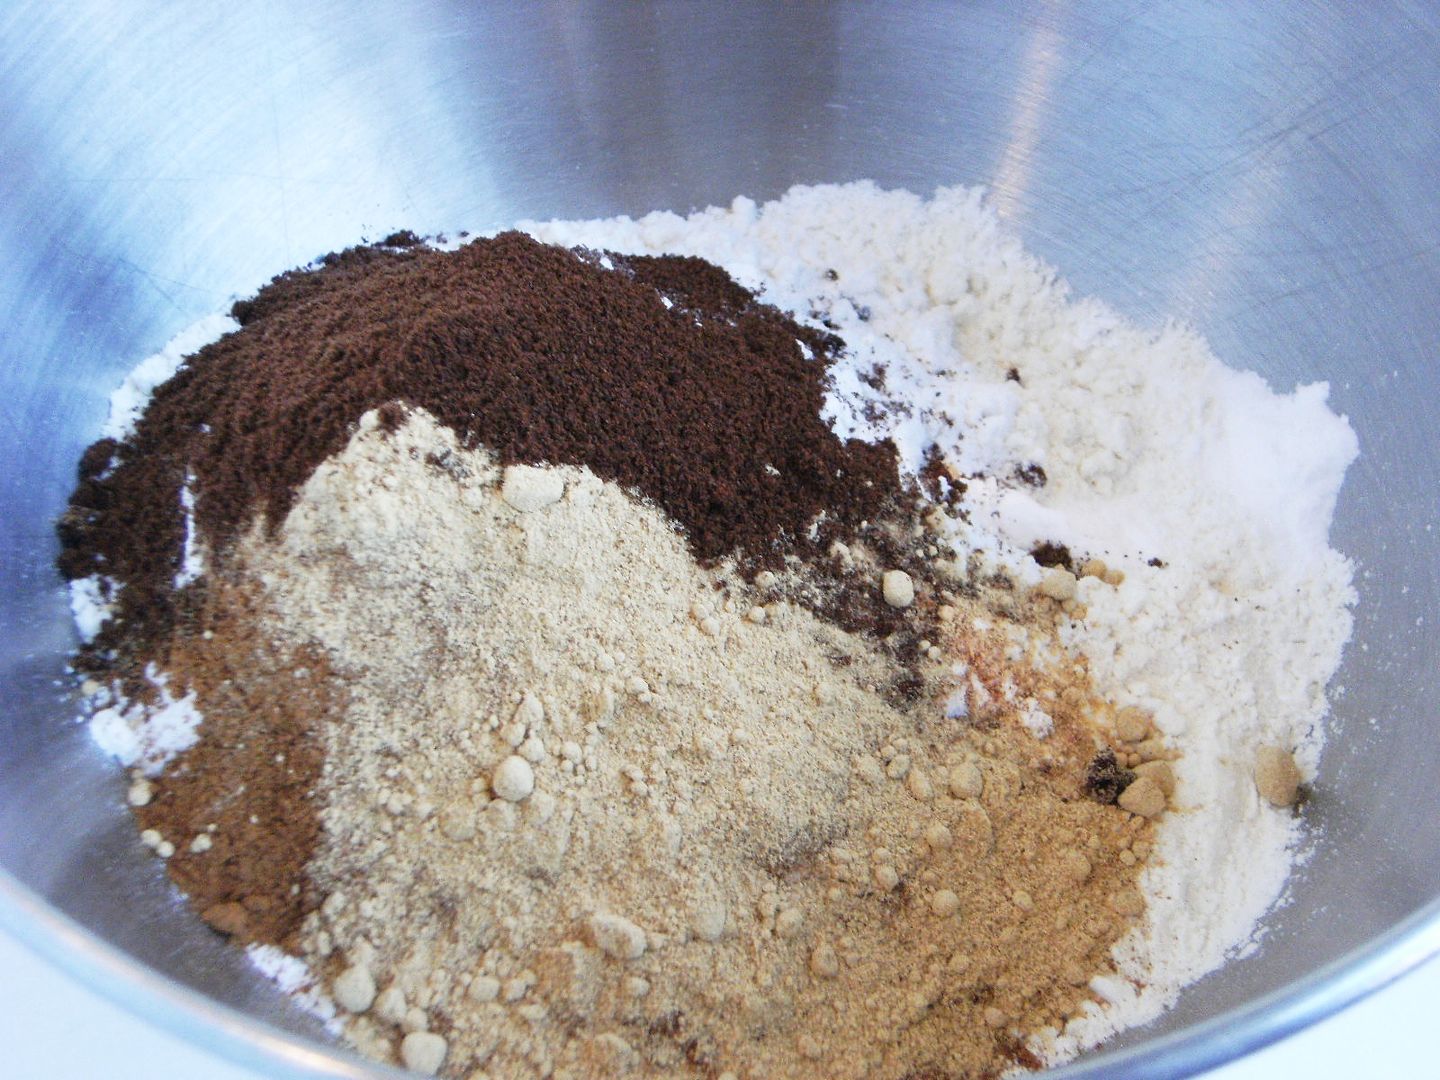
In a large bowl, whisk together flour, salt, baking powder, baking soda, cinnamon, ginger, and cloves; set aside. {The measurements for the spices look like TOO MUCH ...they are correct.}
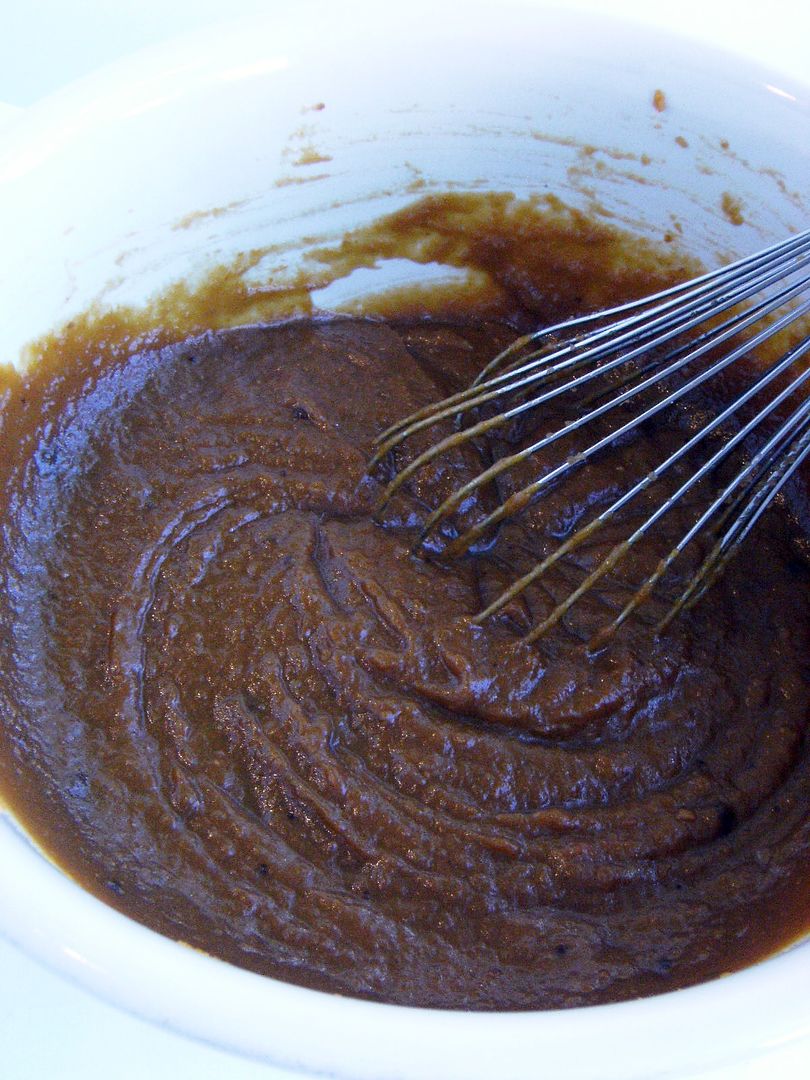

In another large bowl, whisk together brown sugar and oil until well combined. Add the chilled pumpkin puree and whisk until combined. Add eggs and vanilla and whisk until well combined.

Add the flour mixture over pumpkin mixture and whisk until fully incorporated.


Using a small ice cream scoop with a release mechanism (about 1/8 cup if you don't have one...mine doesn't have a release mechanism), drop heaping tablespoons of dough onto prepared baking sheets, about 1 inch apart. (I got approx. 40 "cookies" to make 20 total pies.)

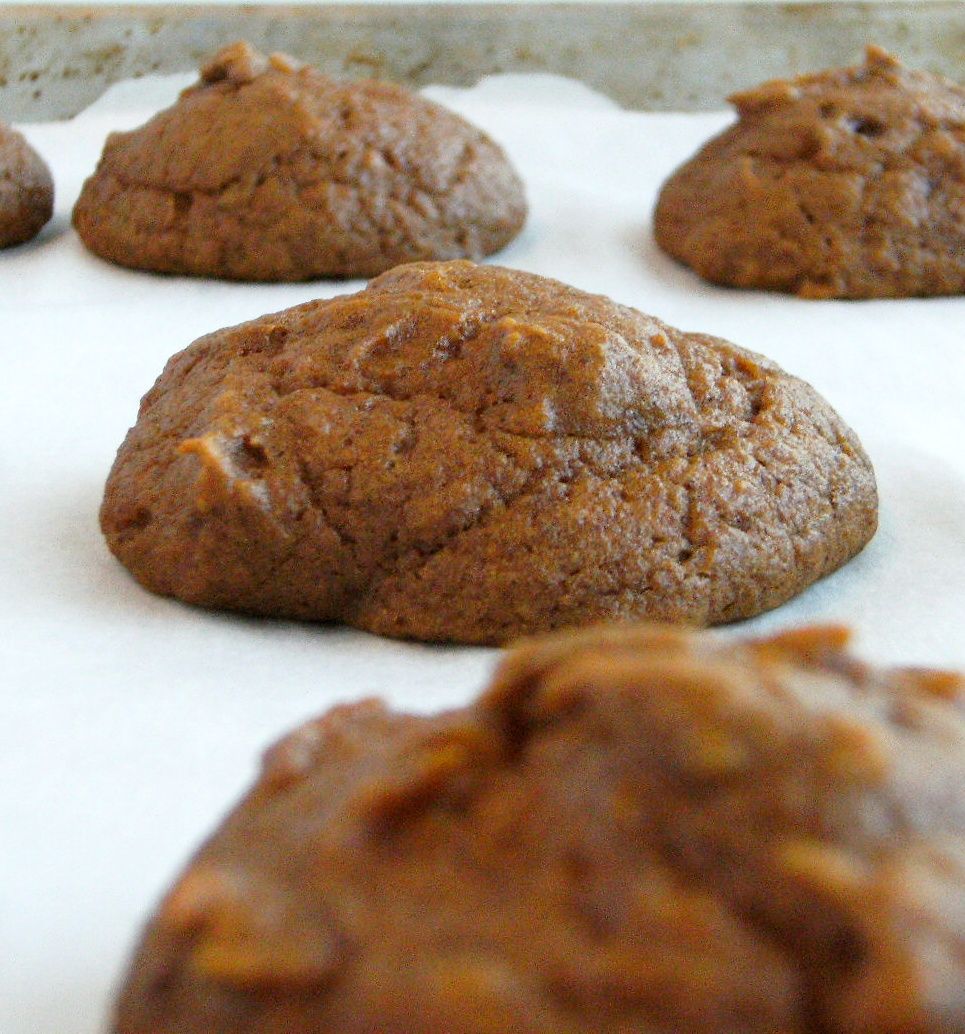
Transfer to oven and bake until cookies are just starting to crack on top and a toothpick inserted into the center of each cookie comes out clean, about 15 minutes. Let cool completely on pan.


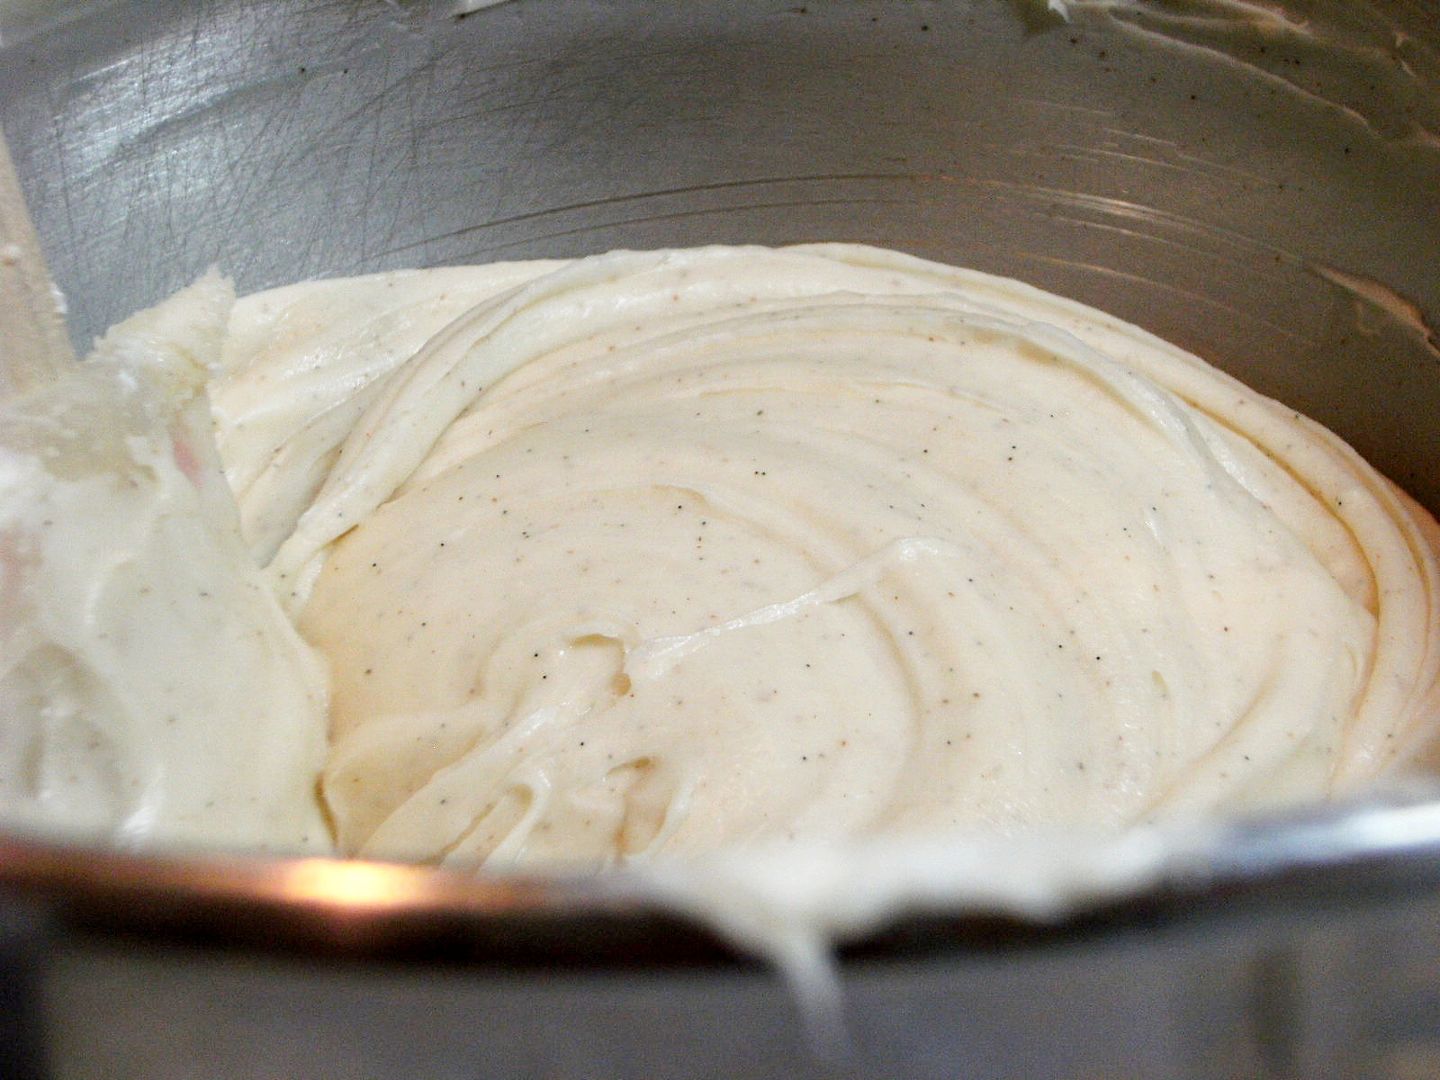
Vanilla Bean Cinnamon Cream Cheese Filling
{doesn't vanilla bean paste make everything better?}
  • 3 c powdered sugar
  • 1/2 cup (1 stick) unsalted butter, softened
  • 8 ounces cream cheese, softened
  • 1 teaspoon vanilla bean paste (or vanilla extract)
  • 1/4 tsp cinnamon
Sift the powdered sugar into a medium bowl; set aside.

In the bowl of an electric mixer fitted with the paddle attachment, beat butter until smooth. Add the cream cheese and beat until well combined. Add powdered sugar, vanilla bean paste and cinnamon; beat until smooth.


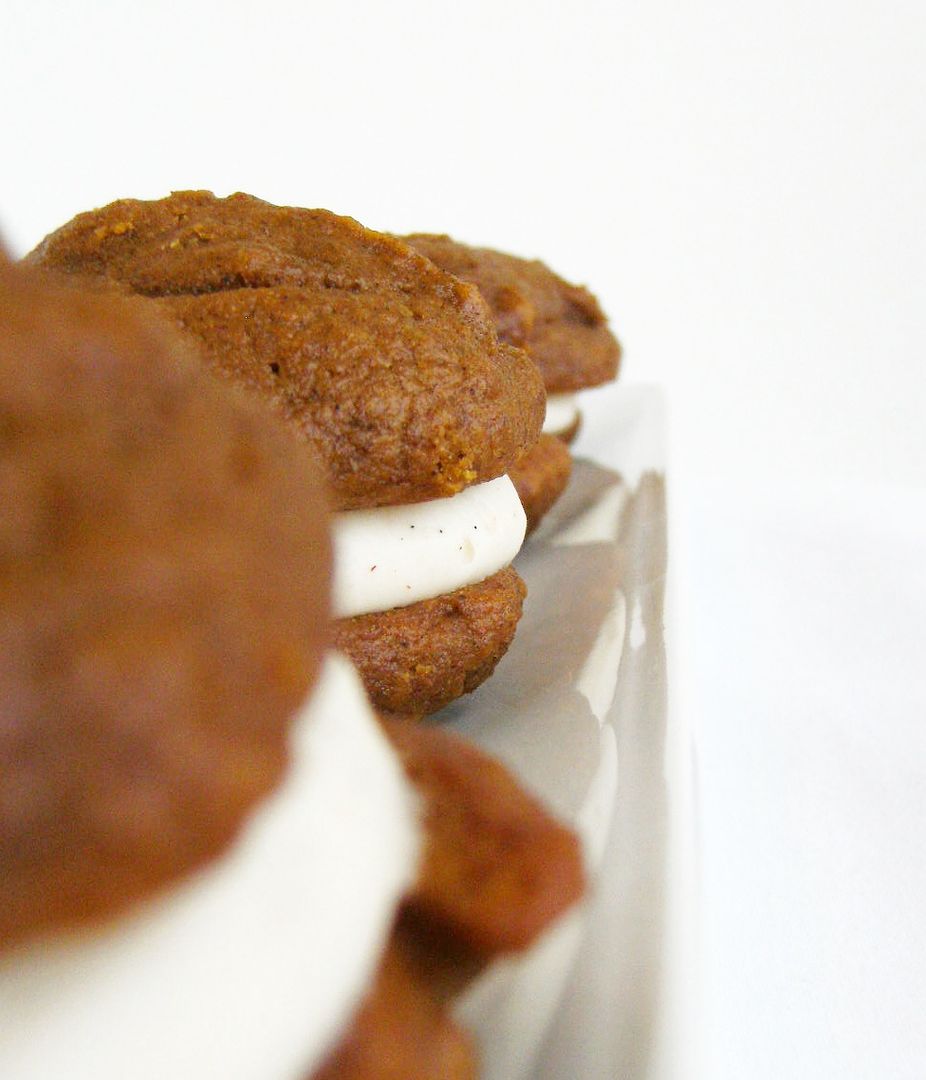
To assemble the whoopie pies: Line a baking sheet with parchment paper and set aside. Transfer filling to a disposable pastry bag and fit with a large round tip or snip the end.

When the cookies have cooled completely, pipe a large dollop of filling on the flat side of half of the cookies. Sandwich with remaining cookies, pressing down slightly so that the filling spreads to the edge of the cookies. Transfer to prepared baking sheet and cover with plastic wrap.

Refrigerate cookies at least 30 minutes before serving and up to 3 days.

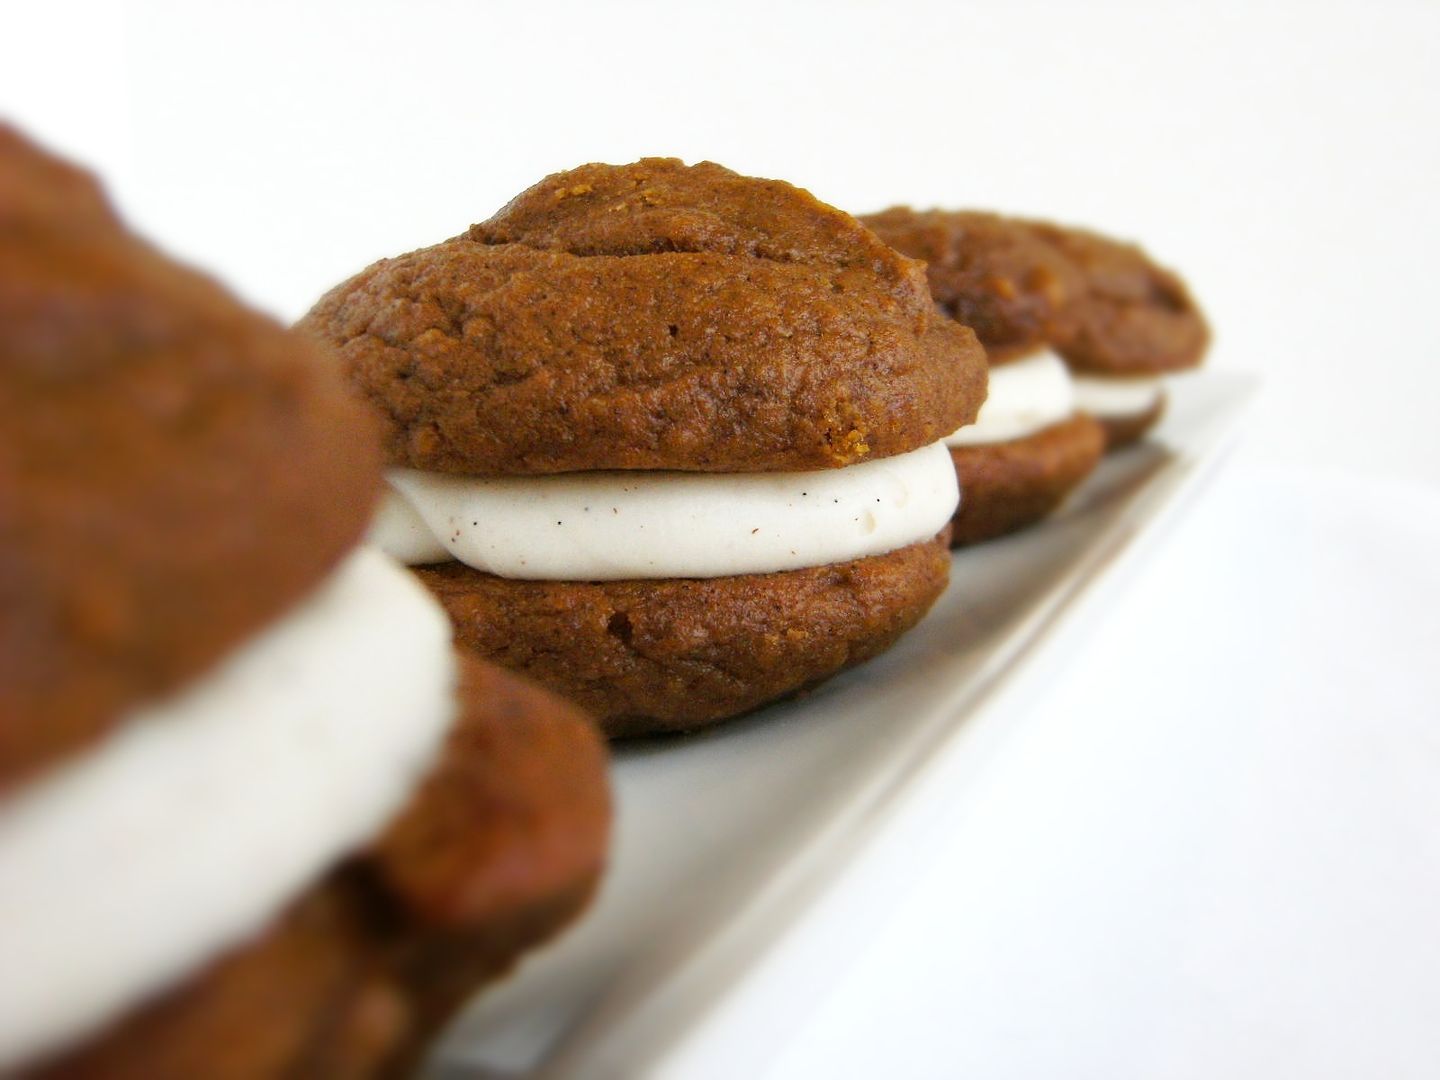
One issue is that they must be refrigerated or they are way too messy to eat. After a day or two, the bottoms do get a little squishy. My friend, Paulie, suggested coating the pies in a glaze...like a Krispy Kreme donut. Any way to incorporate more sugar into a recipe sounds good to me. {Paulie is a very, very smart man!} If someone figures out how to do it, let me know! :)

Next month...Flavor-of-the-Month November theme will be.....
Traditions!
Share a recipe from your mom, dad, grandmother, mother-in-law or even a recipe that you'd like to start as a family tradition.

{As always, anyone is welcome to link to Flavor-of-the-Month; you don't have to ask. Click here to read through all of the previous posts for instructions.}

Ok, ready to link up? I'll keep the linky open through November 2nd, then close it to avoid spammers. Thanks for participating!!!

Cheap and easy DIY Halloween dog costume :: he-he-he

Maybe my hubby and I lack creativity... maybe it's time... or maybe finances... but just for fun, the quick instructions for making the easiest dog costume, ever. Your dog can be a BOX or a PACKAGE... har har har:


Step 1: Get a box


Step 2: Get an unwilling and cute dog


Step 3: Make a hole in the box


Step 4: It's a Box! Enjoy!


No husbands or animals were harmed during this cheesy Happy Halloween post!

Friday Flowers


Apparently these beautiful peonies, which our florist delivered to the shop this morning, are the first for the season. They look so pretty with our colourful cushions and our new orange ottoman!! Hope you have a great weekend.

xo
Anna

Happy Birthday Nicki and an adorable card from The Cutting Cafe'!!!!

Happy Friday everyone! Today is my oldest daughter's birthday! Happy Birthday Nicki! I love you so much and we're so proud of the beautiful woman you've turned out to be! Hope you have the best birthday ever!! I fell in love with this adorable image of Cinderella by Mo Manning when I first saw her on Pam's blog, and had to immediately purchase her! Nicki is such a hard little worker, and I just thought it would be too cute to make a birthday card for her with Cinderella! I even cased the sentiment from Pam too! Thanks Pam!! :) She's colored with my copic markers. The tag, scalloped circle set, and scalloped frame for the stamped image were all cut with the Cricut Expression using the Storybook cartridge and Tage, Bags, Boxes, and more cartridge. The inside says "may all your birthday dreams and wishes come true".

This next adorable card is a new mitten shaped card that is available at The Cutting Cafe'. I just think this is the cutest mitten card ever!! And it even comes with an envelope template that is the perfect size for the card! I used Basic Grey Eskimo Kisses which I got from Hallmark Scrapbook, and cut the card with my Pazzle Inspiration. The word circle is also from The Cutting Cafe' from a set called Christmas Circle Set 2. I just cut it out using circle Nestabilities. The snowflake on the inside was cut from the Winter Woodland cartridge.


That's it for today ladies! Hope you've enjoyed the cards and have a wonderful Friday! HUGS!!


Freebie digi image from Fresh Brewed Designs if you hurry!!!

My friend Heather, owner of Fresh Brewed Designs is giving away a freebie digi image if you hurry before she takes it down! It's an image of Mr Corn and I love it! Be sure you head over there and take advantage of her generosity, and please don't forget to leave her some love on her blog! Her digi images are adorable! Click HERE to get it!

Thanks and hugs!!!

Ooh la la :: Real Bride Christie


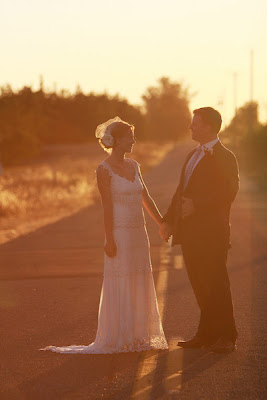
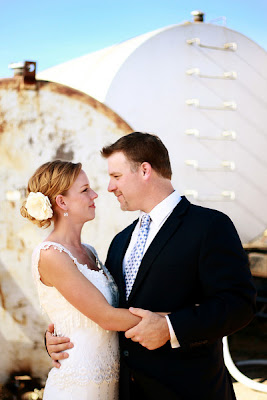
I just received some stunning photos from Christie, who wore a Twigs & Honey birdcage veil and handmade silk flower for her wedding recently. I am in awe of her wedding dress. It is gorgeous!


What a beautiful bride, yes??? Thank you, Christie and congrats to the two of you!!!
Photo credits: New Vintage Photography

Several new pieces in the Etsy shop :: light and soft

I have listed some pieces in my etsy shop that I'm really excited about. Each one is very different and unique. They were designed for a photo shoot and would be perfect for spring... soft, floaty, sheer... light colors. So pretty!:


Frothy Pink Confection


Feather Flurry


Vintage Delight


Angled mini blusher with pouf

Leanne and Ted at Rosecliff, Part Two

Posted by Mariah:

To think we almost bagged this second location! We had so much fun in the foliage that we thought we might not need another locale... plus the wind was picking up... plus it was getting dark... plus we were running out of time...
Should we do it?
Of course we should!


I thought it would be kind of a shame for Leanne and Ted not to have a little Newport - ocean action in their backgrounds. Luckily, they agreed.


I smell panorama!!! Trish took this amazing photo. Talk about dramatic.


A few more quick shots of Leanne before we are blown away!


Time to head back to Rosecliff...


It's starting to rain again but we manage to squeeze out the last couple bits of blue light.


I love the personal touches... nothing like having your own brand of wine.


The wine bottles and corks added a super personalized and great touch to the cocktail hour.


The ballroom was spectacular.


Yum.


Nothing washes down cake like a delicious pineapple libation.


The photolounge was in the house... here are Leanne and Ted giving it a test run.


How adorable are these mini- fish and chips? Melissa tells me this is how they
wrap them up in the UK.


Amazing centerpieces by Stoneblossom.


Apple green and brown were Leanne's colors.


Getting ready for the big intros...


Ta Da! Mr and Mrs!!!!


A romantical first dance...


So sweet.


A couple of great toasts by our maid of honor and best man...


Ted's brothers...


We tried all day to get a couple of Snap! signature ring shots... but it never quite came together. Trish remembered toward the end of the evening and got not one, but two fantastic ring photos.


Not sure which I love better, but this one is pretty sweet.


I was busy minding the photolounge (and trust me, it needed A LOT of supervision).
Meanwhile sneaky Trish got these amazing photos... I think she's envisioning the last page in the album... that's her move after all.


Again, can't decide which... maybe the first one because the reflection of the lanterns on the wet stairs is so cool. Oh well, luckily I don't have to choose, that will be up to Ted and Leanne.
So cute.
I think it's safe to say it was a pretty magical evening.
We love witnessing the beginning of a new family!
Everyone danced into the wee hours... I think they were pretty sad to see it end.
Leanne and Ted- enjoy Aruba! Thanks for including us in such a beautiful day!
Friends and Family: Click HERE to register and receive an email when all of Leanne and Ted's photos are read to view.

Blog Archive